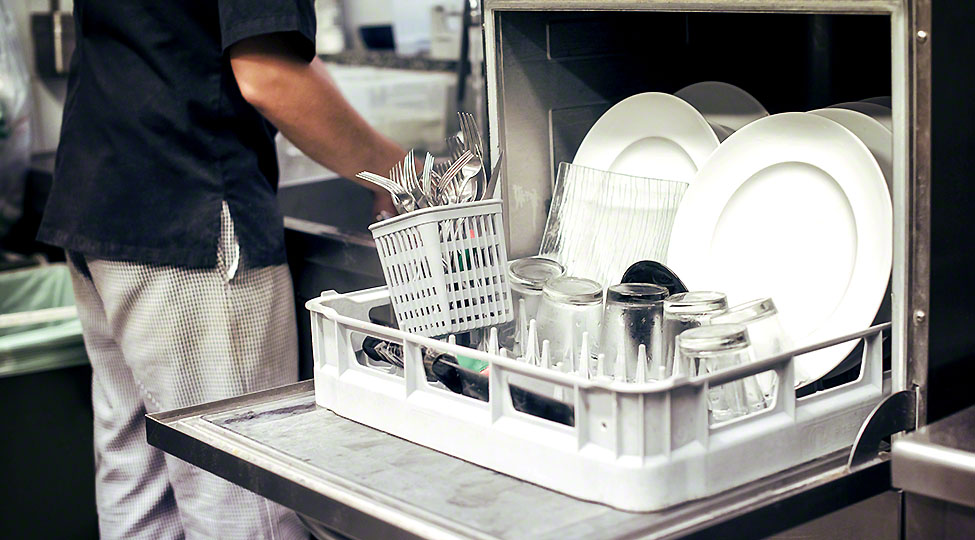
Commercial Dishwasher Stops Working Mid-Cycle: 8 Causes
A commercial dishwasher is an essential appliance in residential and commercial kitchens alike. Your commercial kitchen depends on it to […]
A commercial dishwasher is an essential appliance in residential and commercial kitchens alike. Your commercial kitchen depends on it to […]

If it’s your first time handling or hosting or even planning a corporate workshop and you’re losing your mind over
Your kitchen should look anything but outdated. This is not the look you’re going for. It will make the kitchen

If you love experimenting with your hair color but can’t commit to the hours you spend in that salon chair

Large format tiles have gained significant popularity over the years. When planning to re-floor your bathroom, you must have considered
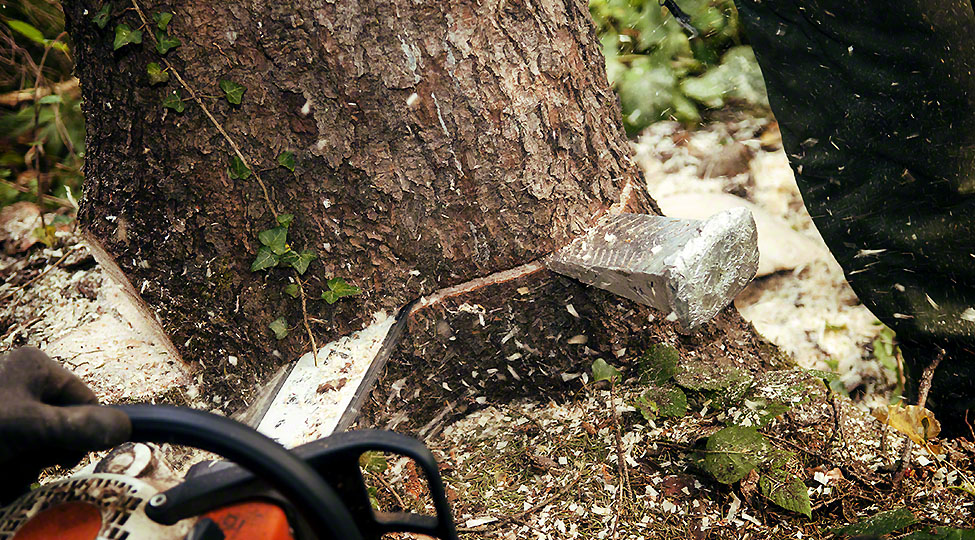
The American basswood is a beautiful tree and you can find it commonly in the suburbs and basically everywhere. But
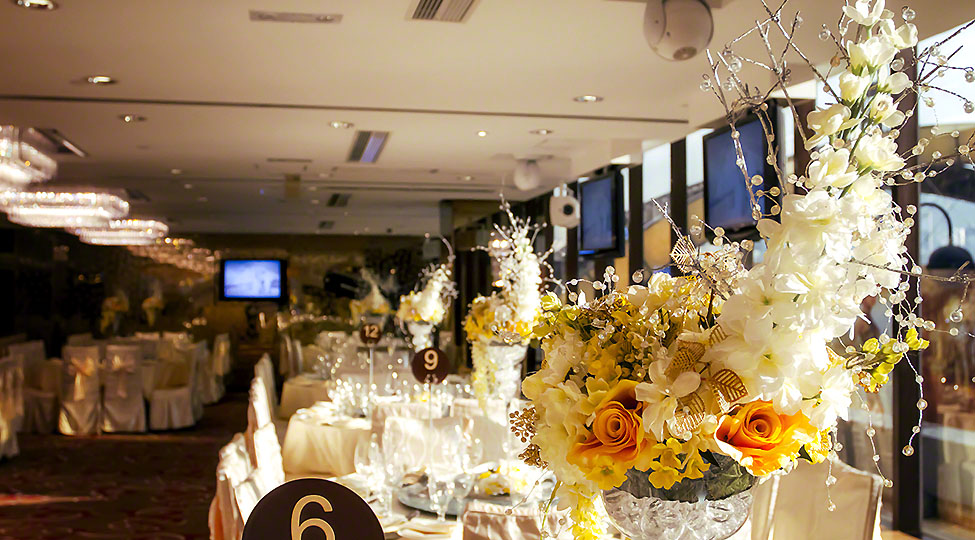
Engagements – they can be grand or intimate, but after that special event when you’re ringing in this new chapter

Weddings are not an age thing. If you’re an old couple wanting to get married, you only need to plan

HVAC units have been around for quite a while now for a variety of reasons. Not only are they efficient

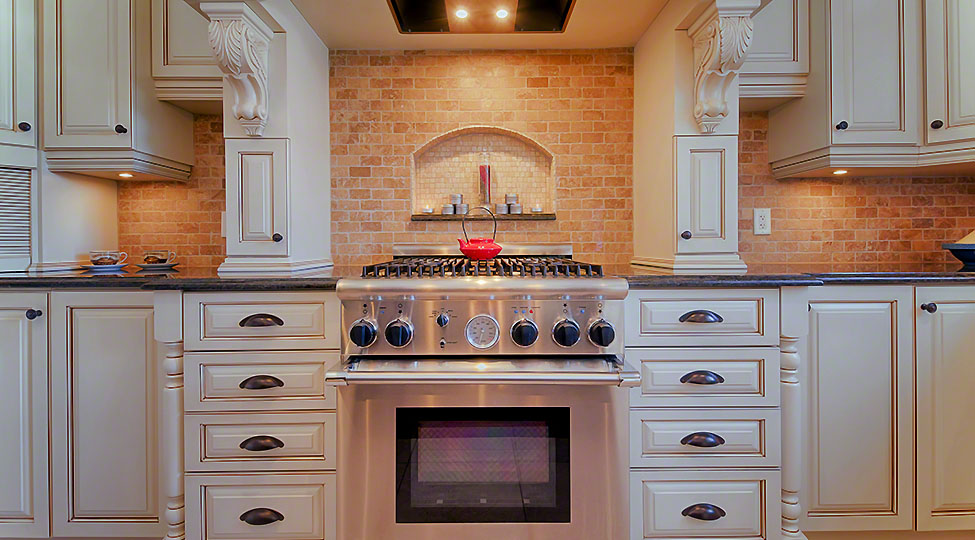
The cooktop in your kitchen is one of the most important appliances. Although gas cooktops tend to be more popular,