
Cost-Effective Commercial Remodeling Ideas for Small Businesses
Small business owners understand the importance of cost-effective commercial remodeling. It’s a strategic decision that can have a significant impact […]
Small business owners understand the importance of cost-effective commercial remodeling. It’s a strategic decision that can have a significant impact […]

Countertop materials are pretty much endless in variety. One of these materials is tile. Tile countertops seem to be making

Tree wounds are very common, especially considering that trees endure a lot of damage imparted by the outdoors. Here is
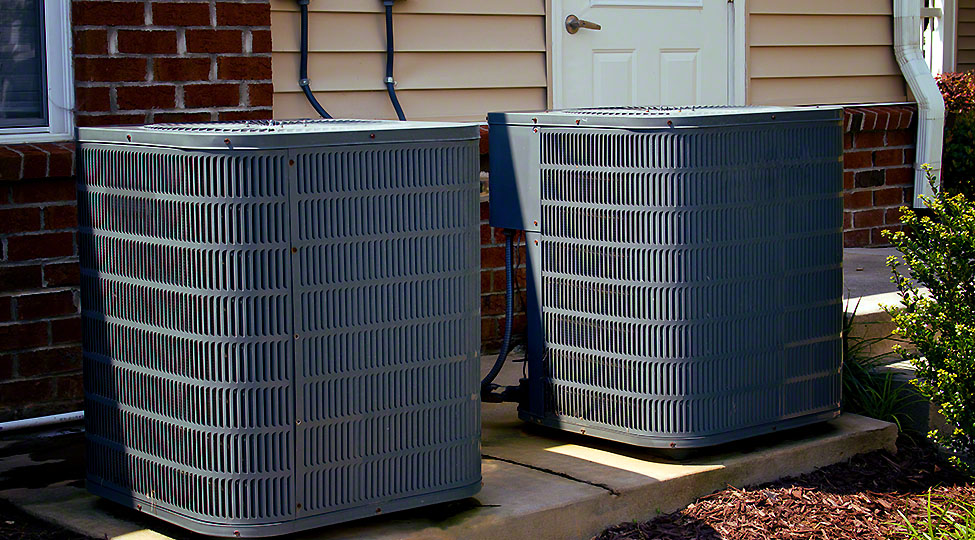
If your air conditioning unit is frequently turning on and off, it is a sign of an issue that you

Creating a beautiful and functional patio is a great way to enhance the value of your property and add to

Usually, homeowners don’t give attention to the chimney unless the fireplace is not working. This behavior can lead to problems

When the blower fan of a furnace keeps running continuously it is a sign of a problem which should be
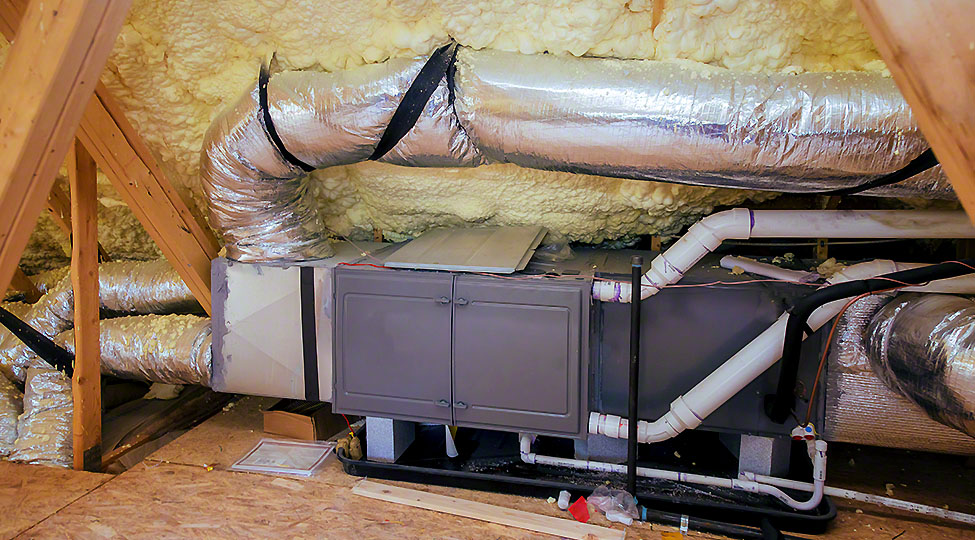
Having a furnace in your house to keep you warm and cozy when it is freezing outside is a blessing.
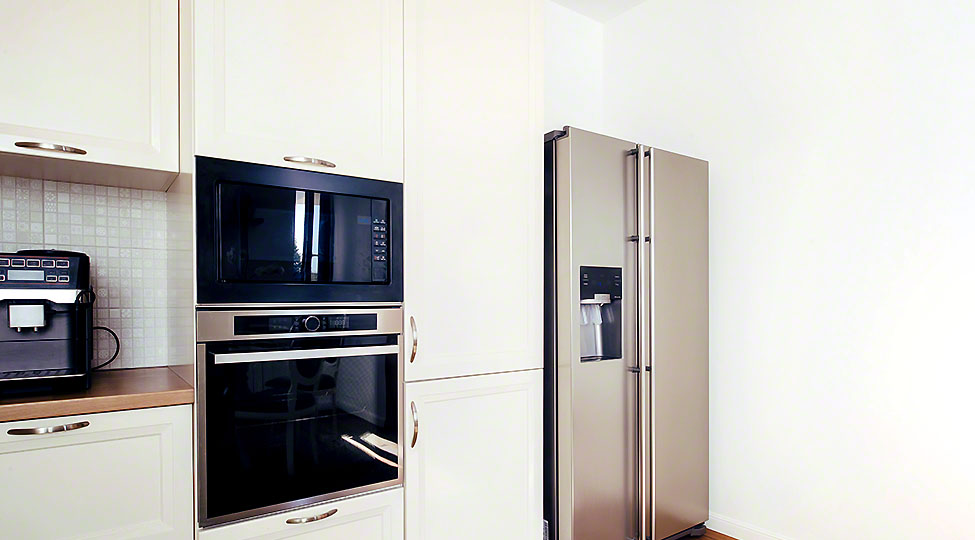
There are numerous methods for keeping your refrigerator in good working order. However, keep in mind that they are merely
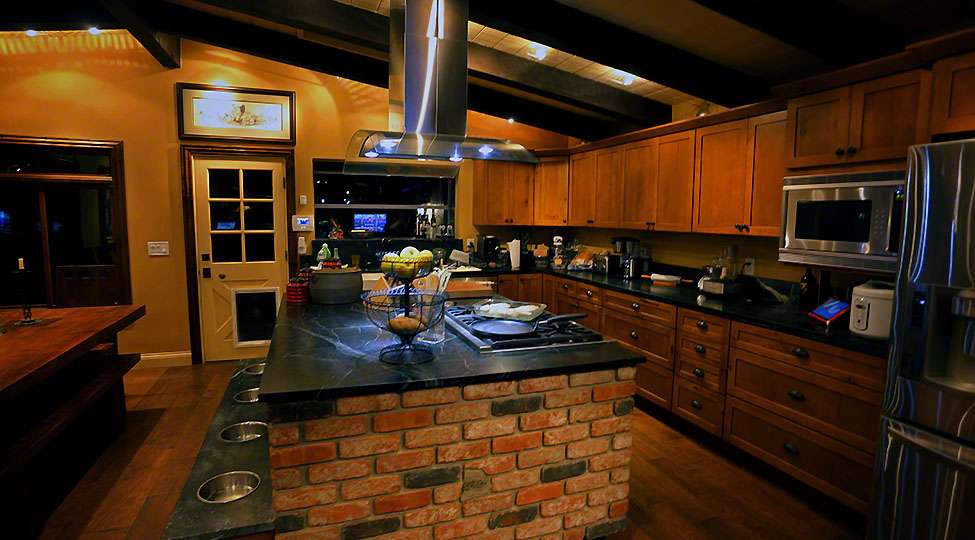
Countertop color selection can be a difficult task, especially when you have so much to choose from. Whether you’re choosing