Why You Shouldn’t Use Tap Water
A lot of people use tap water for mundane things around the house, but it doesn’t mean that you should […]
A lot of people use tap water for mundane things around the house, but it doesn’t mean that you should […]
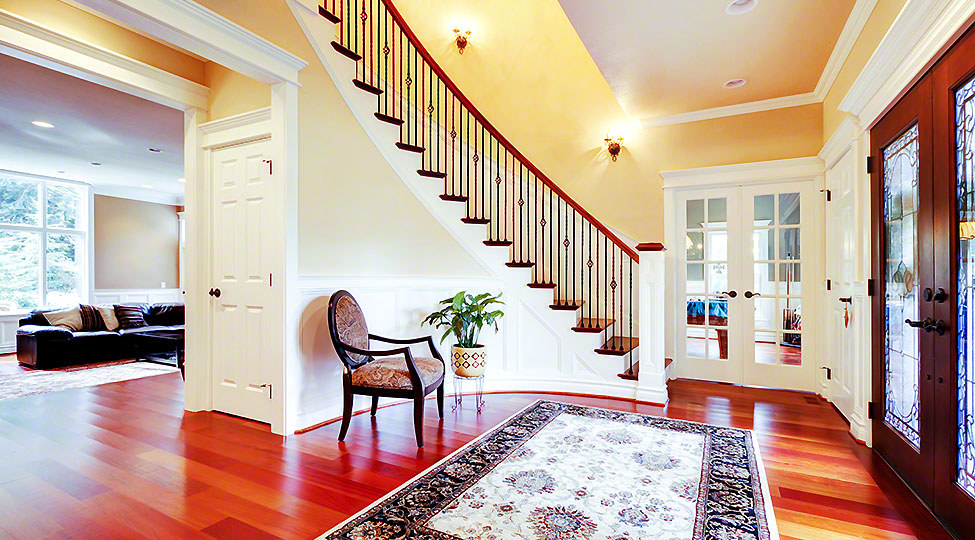
Rugs are a great way to add a little bit of flair to your room. Incorporating rugs can add more
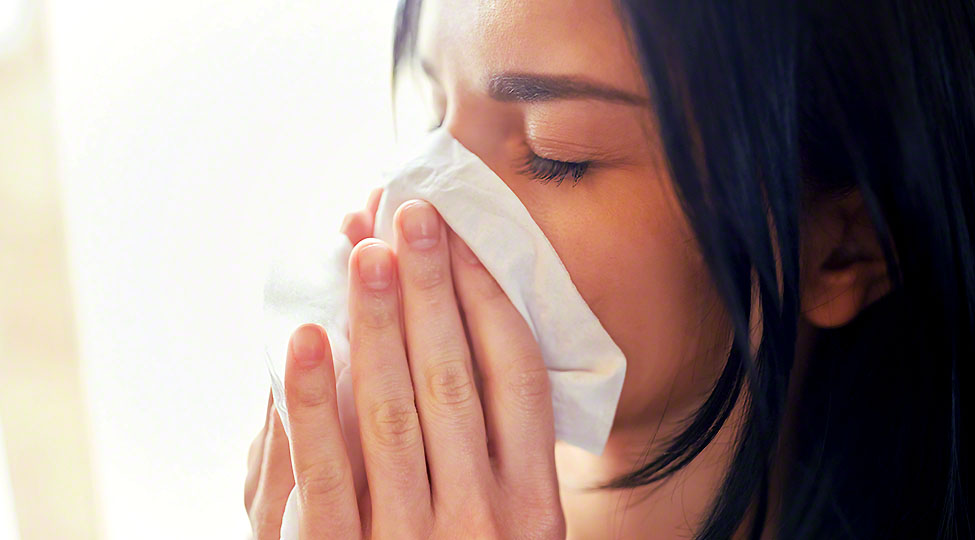
Allergies are caused by triggers and these can be simple things around you. Pollen, pet hair, dust, food, and even

A home addition is an exciting yet stressful experience. With so many options, homeowners often find themselves struggling to come
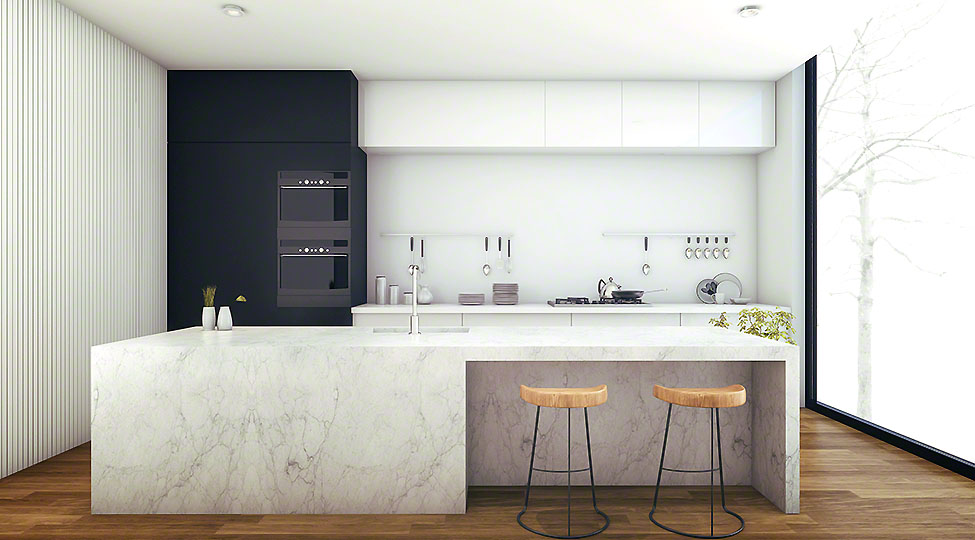
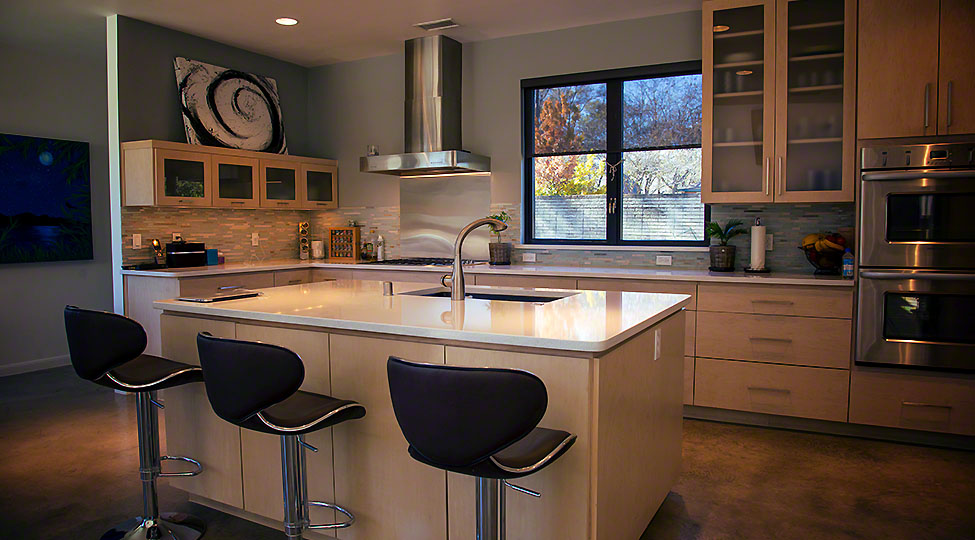
There are so many natural stone materials for countertops to choose from such as marble and granite countertops. Sometimes, the

Divorces and separation can be hard for all of the parties involved, but for a woman, it is the most
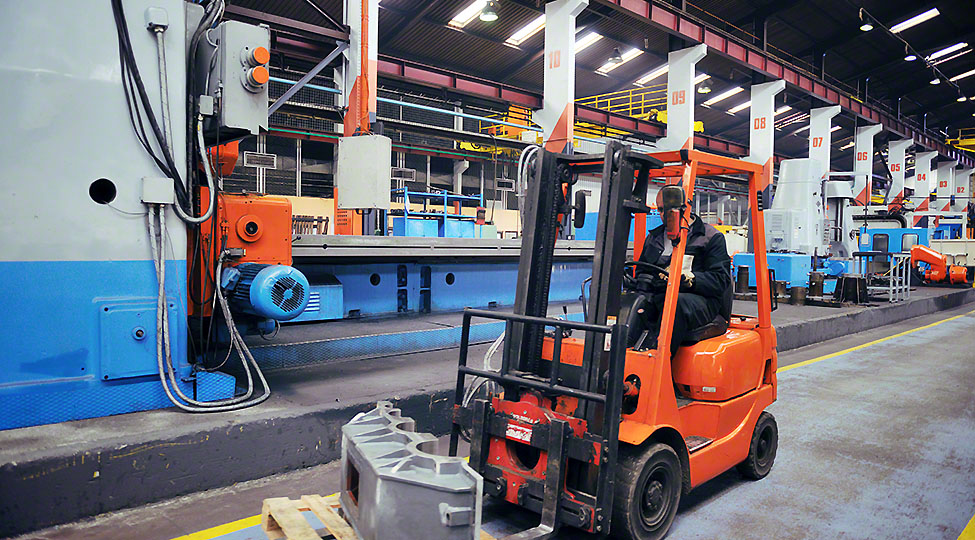
Transportation, construction, production, and other important industries make use of different types of cranes depending on the needs and tasks
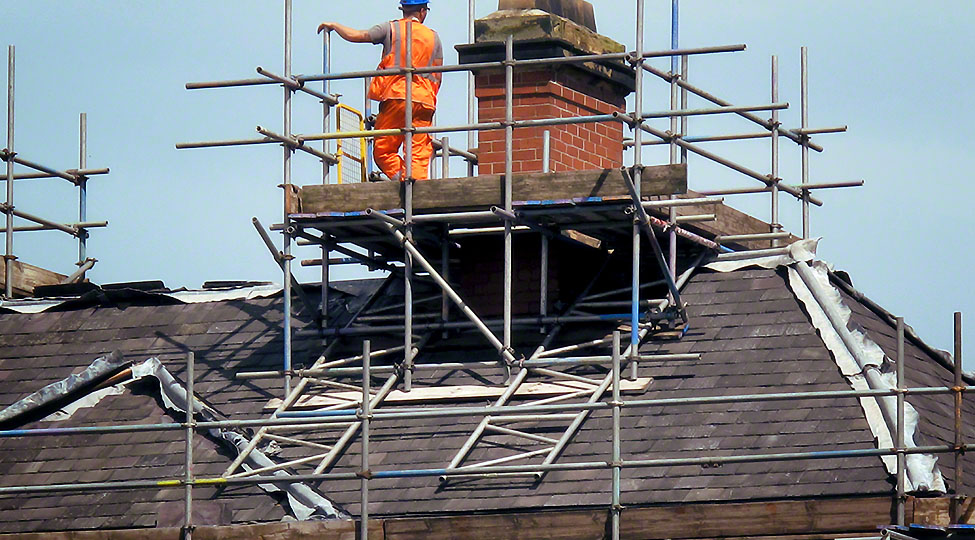
Replacing the lining on your chimney is important once it starts to deteriorate. Even though you are looking at a
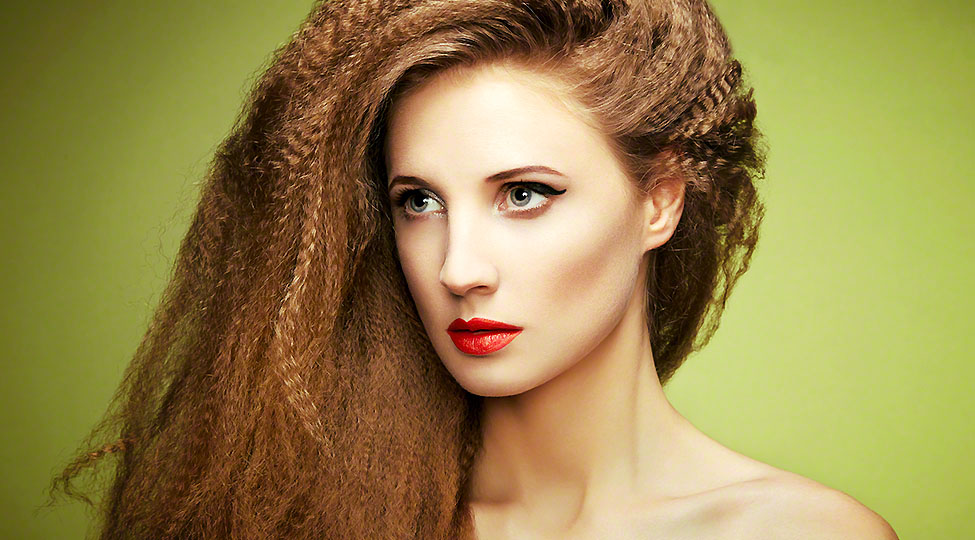
Every woman wants sleek and straight hair, which is why most women go to keratin treatment salons. But have you
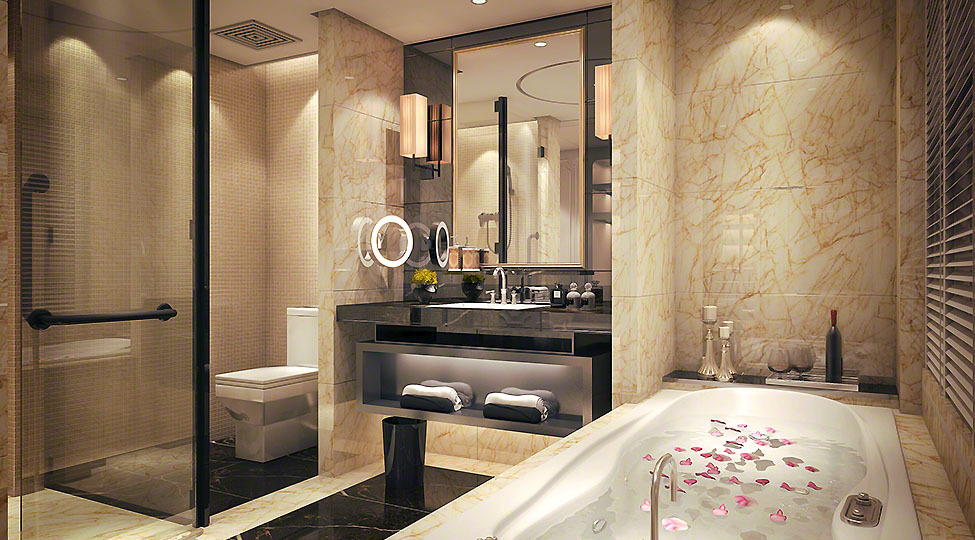
Bathroom remodeling is no doubt an exciting process. As easy and simple it might seem, homeowners often mind the process