
Commercial Ice Maker Is Not Making Ice
A commercial ice maker is crucial to a business. If it is being used by a business that sells ice […]
A commercial ice maker is crucial to a business. If it is being used by a business that sells ice […]
Heat pumps are designed to keep you warm and cozy during the winters. Even though they tend to develop problems

Gone are the days when the bride’s parents were burdened with all the expenses of the wedding, the food, the

Concrete is a durable material for patios and driveways, but it doesn’t have a beautiful visual appeal. It looks dry

There comes a point in every homeowner’s life where they would like to make several minor additions to their property.
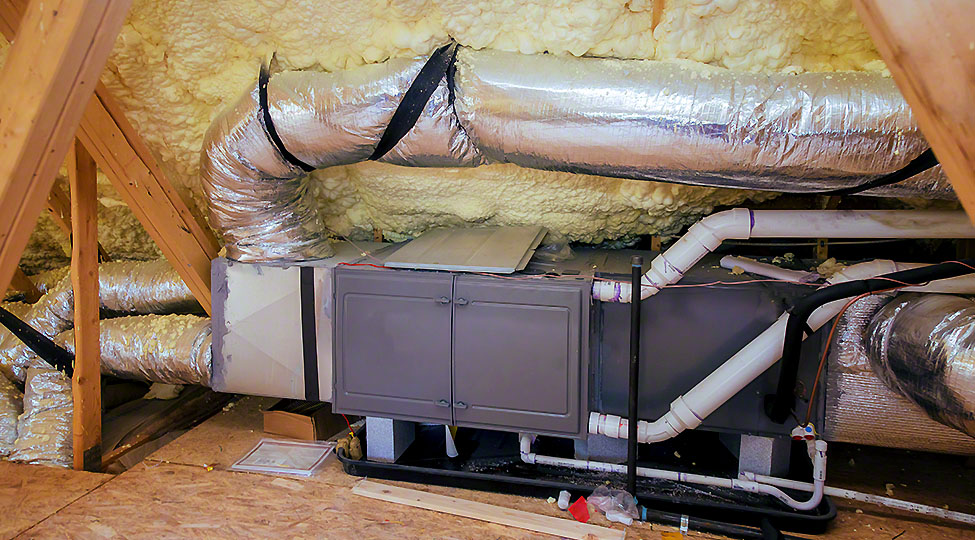
It is often that you come across a furnace that simply refuses to shut off. A continuously running furnace not

The materials that are perfect for constructing a sustainable and sturdy chimney also are disastrous for water. Water drastically damages

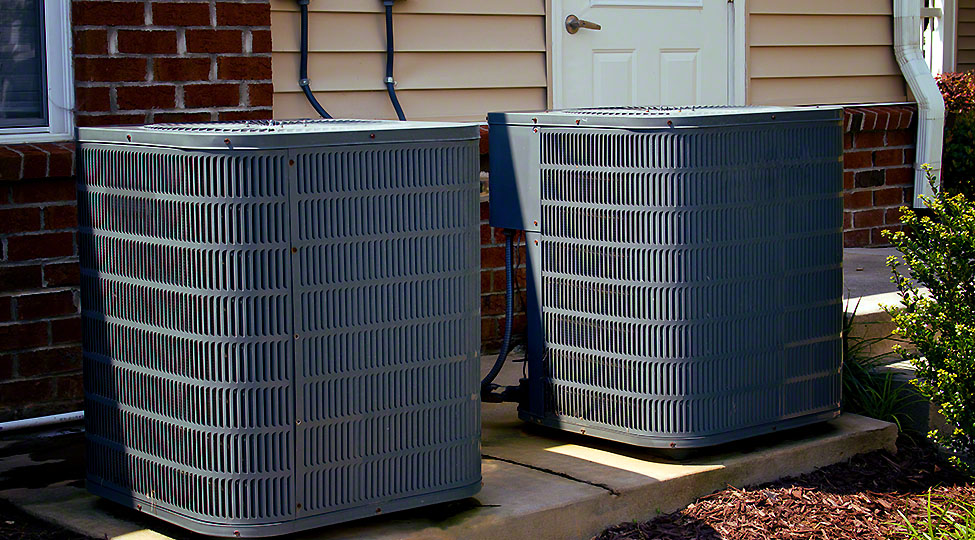
Despite having a heating and cooling system in place, you might experience hot and cold spots in your house. Different
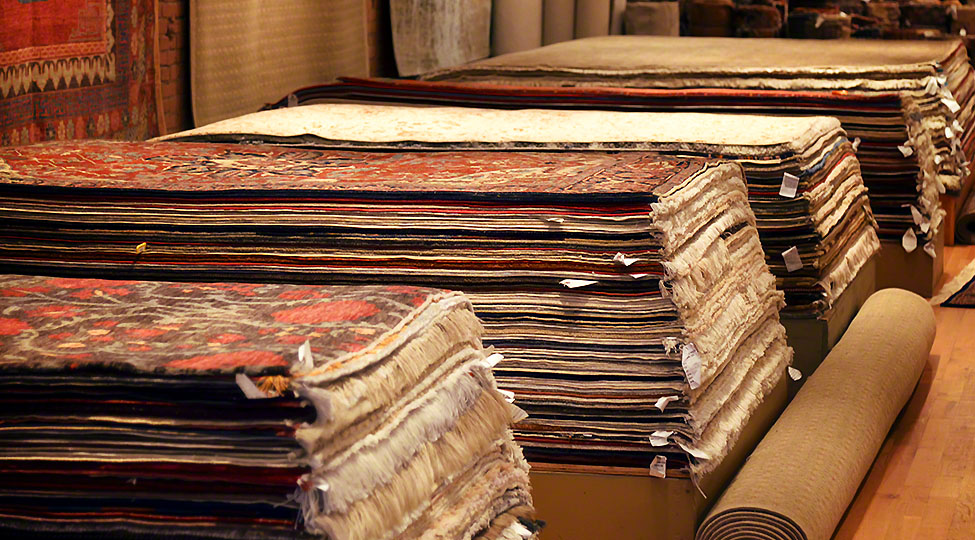
All want their kitchen to be beautiful, clean, and yet functional. An area rug is one of the many things

Just research the types of hair highlights, and you’ll introduce yourself to a world of hair color and highlights. But