Is It Normal For A Furnace To Run Nonstop
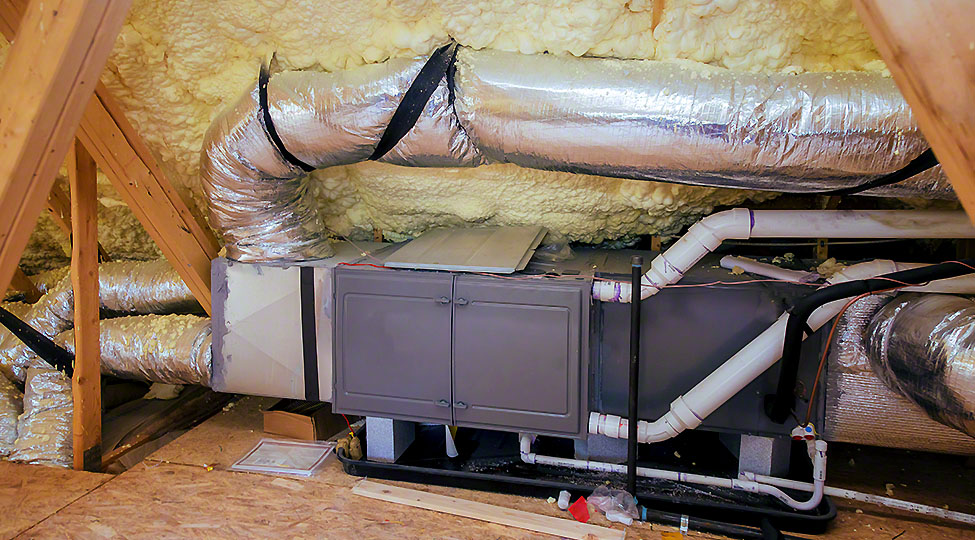
Having a furnace in your house to keep you warm and cozy when it is freezing outside is a blessing. […]
Having a furnace in your house to keep you warm and cozy when it is freezing outside is a blessing. […]

Will your hair extensions become thicker after washing them? This is one of the things that ladies ask most frequently
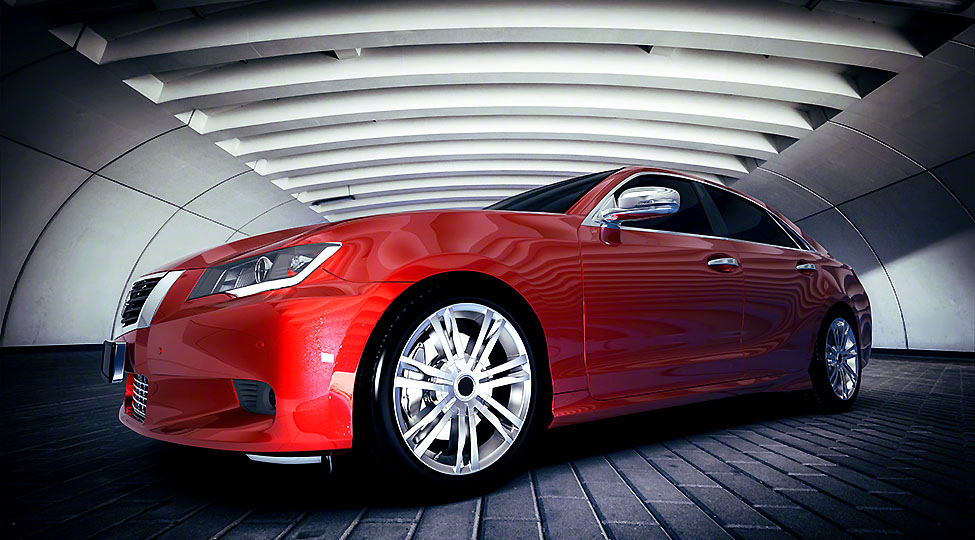
You will hardly come across any vehicle today without window tints. However, some people still want to take it to
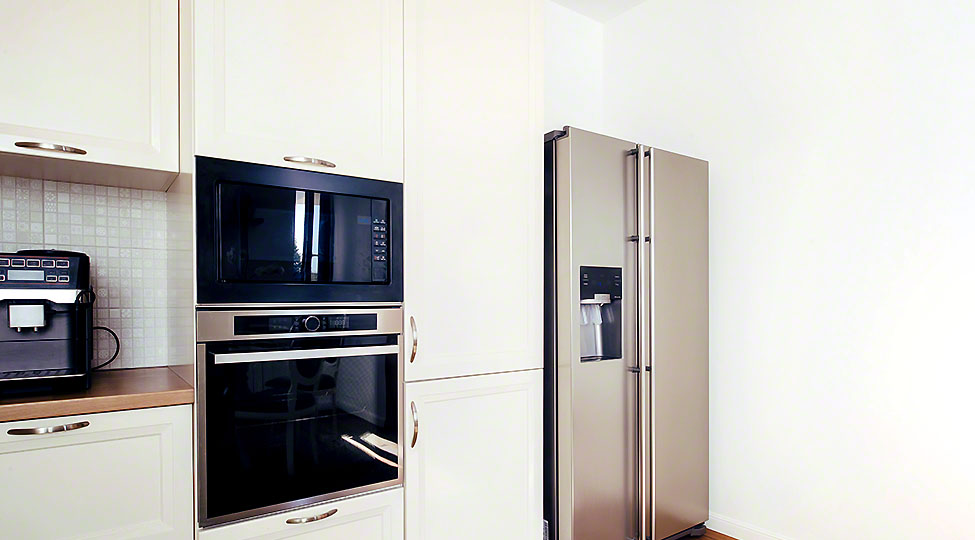
There are numerous methods for keeping your refrigerator in good working order. However, keep in mind that they are merely

The divorce process is hard in itself, but you might want to know about the things that happen during the

You might have heard all about the generic wedding planning tips from here and there, like not leaving anything for
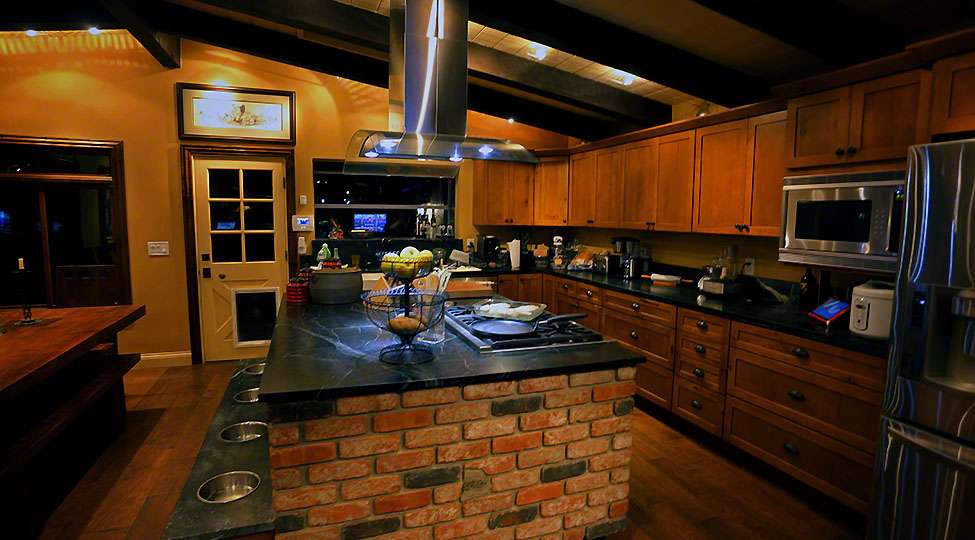
Countertop color selection can be a difficult task, especially when you have so much to choose from. Whether you’re choosing

Social media marketing is the key to the success of an online business. Nowadays, it is much cheaper to market
A lot of people use tap water for mundane things around the house, but it doesn’t mean that you should
There is a goal to deliver great cuisine at the proper moment in any hotel or restaurant where a significant